
Uploading files using
Here is a simple HTML form that uploads a file:
	<HTML>
	<HEAD>
	<TITLE>Please Upload Your File</TITLE>
	</HEAD>
	<BODY>
	<form enctype="multipart/form-data" method="post" action="formresp.asp">
	Enter filename to upload: <input type="file" name="f1"><br>
	<input type="submit">
	</form>
	</BODY>
	</HTML>
Formresp.asp contains the following code:
	<%@ LANGUAGE="VBSCRIPT" %>
	<HTML>
	<HEAD>
	<TITLE>Upload File Results</TITLE>
	</HEAD>
	<BODY>
	Thank you for uploading your file.<br>
	<% Set upl = Server.CreateObject("SoftArtisans.FileUp") %>
	<% upl.SaveAs "C:\temp\upload.out" %><BR>
	Total Bytes Written: <%=upl.TotalBytes%>
	</BODY>
	</HTML>
And that's it!
Let's walk through the sample and see what is going on.
Look at the definition of the form. When using a form to upload files, the following items must be set:
This tells the browser to transmit the contents of the file when posting the form.
Let's look at the form's processing (formresp.asp). The following
line creates an instance of the
<% Set upl = Server.CreateObject("SoftArtisans.FileUp") %>
The following line invokes the .SaveAs method and passes the name of the web server's destination file as a parameter.
<% upl.SaveAs "C:\temp\upload.out" %><BR>
|
The directory on the web server must have Read, Write, and Delete
NTFS permissions. Otherwise, |
In two lines you've uploaded a file!
For bonus points, the following line retrieves the TotalBytes property and displays it to the user.
Total Bytes Written: <%=upl.TotalBytes%>
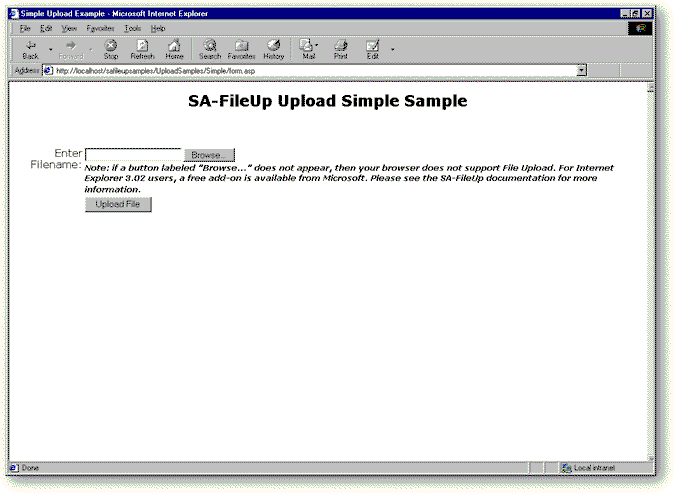
The following figure shows how you could put these elements together into an application. To see the
complete application illustrated in this figure, see the Simple uploading sample in the Samples directory.
(For more information about samples provided with
Simple, right? Now, let's Preserve the user's original filename
| Previous Page | Next Page |